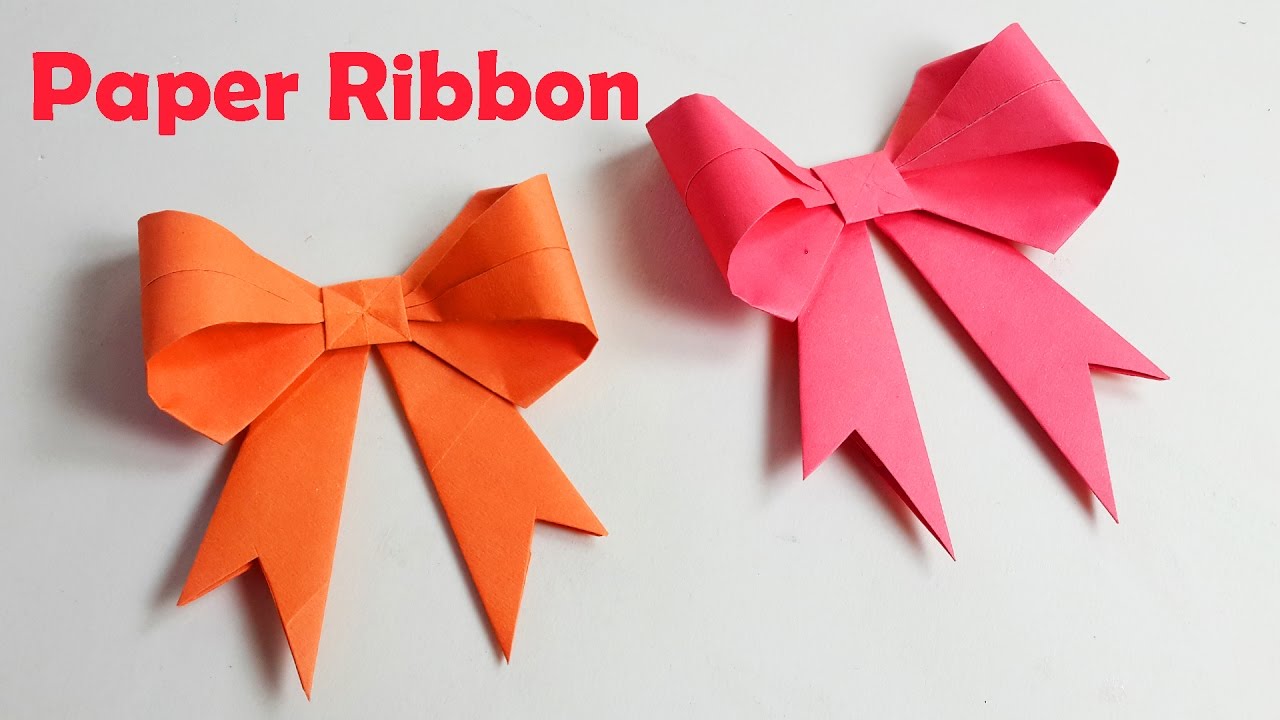
Learning how to make a bow out of paper can be a fun and creative activity for people of all ages. Whether you're crafting for decoration, gifts, or simply as a hobby, this skill is both enjoyable and useful. Paper bows can add charm to your handmade projects, and with just a few materials, you can create beautiful designs effortlessly. In this article, we'll guide you step-by-step through the process of making a bow out of paper.
Creating a paper bow might seem challenging at first, but with the right instructions, anyone can master it. This craft allows you to personalize your creations, making them unique and tailored to your preferences. From choosing the right paper to assembling the final product, we'll cover everything you need to know.
Whether you're a seasoned crafter or just starting out, this guide will provide valuable insights into how to make a bow out of paper. Let's dive in and explore the world of paper crafting!
Read also:Craigslist Motorcycles Portland Oregon Your Ultimate Guide To Buying And Selling
Table of Contents
- Introduction
- Materials You'll Need
- Step-by-Step Instructions
- Design Variations
- Tips for Success
- Common Issues and Solutions
- Recommended Tools
- Benefits of Paper Crafting
- Applications of Paper Bows
- Conclusion
Introduction to Paper Bow Crafting
Why Choose Paper Bows?
Paper bows are versatile and can be used in various ways. They're lightweight, easy to make, and perfect for adding a touch of elegance to any project. Whether you're decorating a room, embellishing a gift, or creating art pieces, paper bows offer endless possibilities.
In addition to their aesthetic appeal, paper bows are budget-friendly. You can experiment with different types of paper, such as colored, patterned, or textured, to achieve unique results. This makes crafting with paper an affordable and satisfying hobby.
Materials You'll Need
Before you begin, gather the necessary materials to ensure a smooth crafting experience. Here's a list of items you'll need:
- Paper (construction paper, cardstock, or scrapbook paper)
- Scissors
- Glue or double-sided tape
- Ruler
- Pencil
- Decorative items (optional, such as ribbons, beads, or stickers)
Using high-quality materials will enhance the durability and appearance of your paper bow. Consider experimenting with different textures and colors to create unique designs.
Step-by-Step Instructions
Step 1: Prepare Your Paper
Start by selecting the type of paper you'd like to use. Cut a strip of paper approximately 1 inch wide and 12 inches long. The length and width can be adjusted based on the size of the bow you want to create. Ensure the edges are straight and even.
Step 2: Create Loops
Take the strip of paper and form a loop by bringing the two ends together. Secure the loop with a small piece of tape or glue. Repeat this process to create multiple loops, varying the size for added dimension.
Read also:Show A Picture Of A Dog Your Ultimate Guide To Finding And Sharing Stunning Dog Photos
Step 3: Assemble the Bow
Once you have several loops, stack them on top of each other, alternating the direction of each loop. Use glue or tape to hold them together at the center. This will form the base of your bow.
For a fuller look, add additional loops around the center. Adjust the loops to ensure they are evenly spaced and symmetrical.
Design Variations
While the basic paper bow is beautiful, there are countless ways to modify and enhance your design. Here are a few ideas to inspire your creativity:
- Layered Bows: Stack multiple bows of varying sizes to create a layered effect.
- Colored Bows: Use different colored paper to make your bow stand out.
- Patterned Bows: Incorporate patterned paper for added visual interest.
- 3D Effects: Add depth by curling the edges of the loops with a pair of scissors.
Experiment with different combinations to find the perfect design for your project.
Tips for Success
Selecting the Right Paper
Choosing the right type of paper is crucial for achieving the desired outcome. Thicker paper, such as cardstock, will hold its shape better, while thinner paper may be easier to manipulate. Consider the purpose of your bow when selecting materials.
Practice Makes Perfect
Don't be discouraged if your first attempts don't turn out perfectly. Like any skill, crafting paper bows takes practice. Keep experimenting with different techniques until you find what works best for you.
Common Issues and Solutions
Here are some common issues you may encounter while making a paper bow and how to address them:
- Loops Falling Apart: Ensure that you're using enough glue or tape to secure the loops. Allow the glue to dry completely before handling the bow.
- Uneven Shape: Take your time when arranging the loops. Use a ruler or template to ensure symmetry.
- Flimsy Bow: Use thicker paper or reinforce the center with additional glue for added stability.
Recommended Tools
While basic tools like scissors and glue are sufficient for crafting a paper bow, there are a few additional tools that can enhance your experience:
- Paper cutter for precise cuts
- Hot glue gun for quick adhesion
- Template guides for uniform loops
Investing in these tools can save time and improve the quality of your creations.
Benefits of Paper Crafting
Paper crafting offers numerous benefits beyond just creating beautiful bows:
- Stress Relief: Engaging in crafting activities can reduce stress and promote relaxation.
- Creative Expression: Crafting allows you to express your creativity and explore new ideas.
- Cost-Effective: Paper crafting is an affordable hobby that requires minimal materials.
By learning how to make a bow out of paper, you're opening the door to a world of creative possibilities.
Applications of Paper Bows
Paper bows can be used in a variety of applications, including:
- Gift Decoration: Add a personal touch to your gifts by attaching a handmade paper bow.
- Party Decorations: Use paper bows to embellish party favors, table settings, or wall decorations.
- Art Projects: Incorporate paper bows into larger art pieces, such as collages or scrapbooks.
The versatility of paper bows makes them a valuable addition to any crafting repertoire.
Conclusion
Making a bow out of paper is a rewarding and enjoyable activity that anyone can learn. By following the steps outlined in this guide, you can create beautiful bows that enhance your projects and bring joy to those who see them. Remember to practice regularly and experiment with different designs to refine your skills.
We encourage you to share your creations with others and explore more crafting ideas. Leave a comment below to let us know how your paper bow turned out, and don't forget to check out our other articles for more crafting inspiration!